Avery Industrial now offers Reftab customers 15% off for select Avery Labels. This includes 15% off of Avery printed labels. If you are looking for a high quality asset tag, you may need a laser printer in order to print them yourself. Since not many companies have laser printers we wanted to make the Avery Designer easily accessible with Reftab.
In this post we will cover:
How to create an Avery Label Design
To get started, you will first need to head to the Reftab x Avery landing page in order to get your 15% off discount code. The link to this page can be found under the “Print Asset Tags” page in your Reftab account. Once on the Avery site, head to the section labeled Custom Printed PermaTrack Asset Tags.
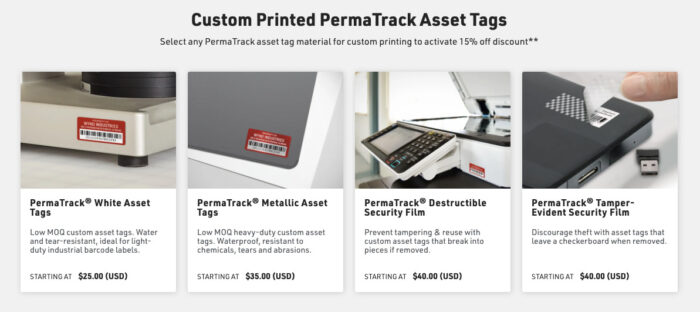
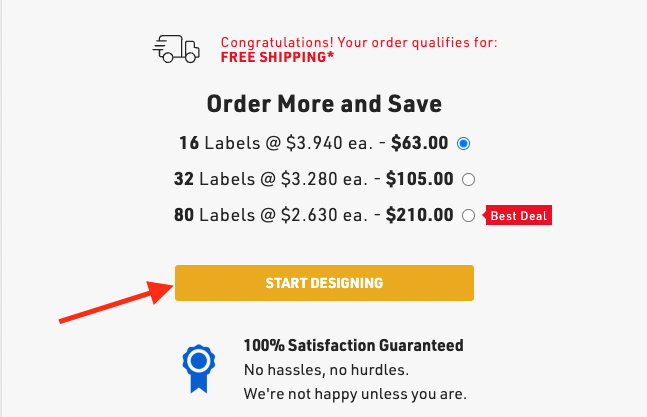
Choose the label that best fits your asset needs. After choosing the proper size, material and quantity you can then choose Start Designing.
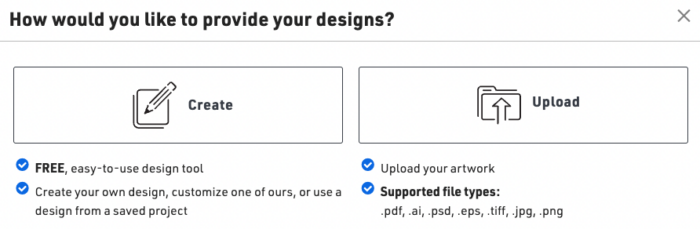
You can then choose Create your Design.
Before moving to the next steps, lets open a new tab and head to our Reftab account.
How to import Reftab data to the Avery Designer
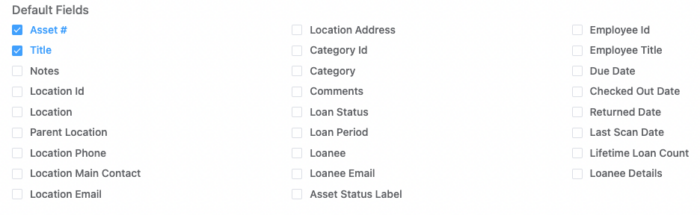
From within your Reftab account, head to the Reports tab. You will then want to create a new Report for all assets. After choosing Show: “Assets” you’ll need to click the option of “Select fields to display”.
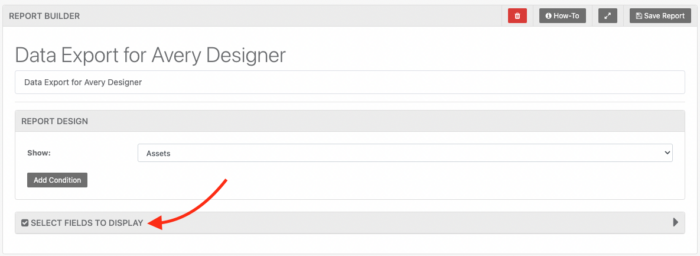
For this guide, I am going to choose only Asset # and Title. Feel free to choose as many fields as necessary. This will be the information that is listed on your Avery Asset Tags.
After running your report, export this as a CSV file. Now that we have the data we are looking to place on our Avery Asset Tags we can head back to the Avery Designer.

Linking Reftab data to the Avery Designer
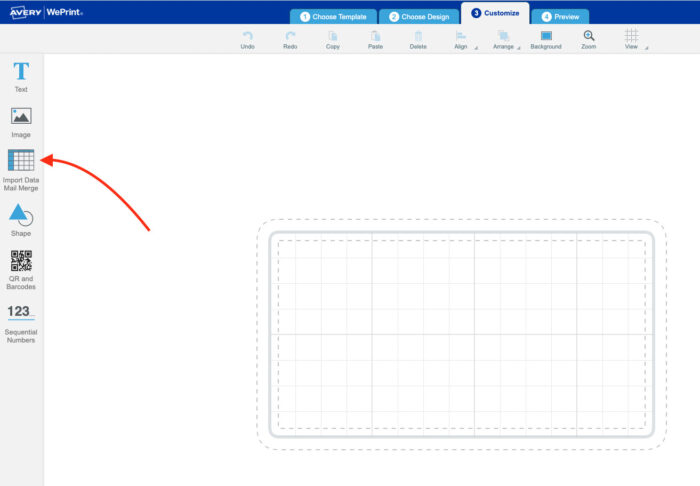
Next steps from the Avery Designer, choose the option on the left hand side of “Import Data Mail Merge” this will allow us to choose the report we generated from Reftab.
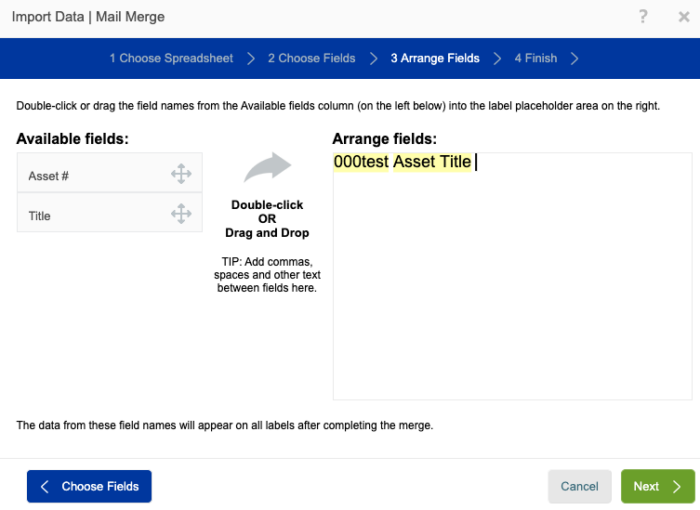
Next when choosing Fields, you will want to deselect the first box since we have Column Titles.

The next step would be to drag our Available Fields to the right side of Arrange Fields. This tells the Avery Designer which fields are absolutely necessary. Being that we created a report of only necessary fields, we’ll want to bring all of them over.
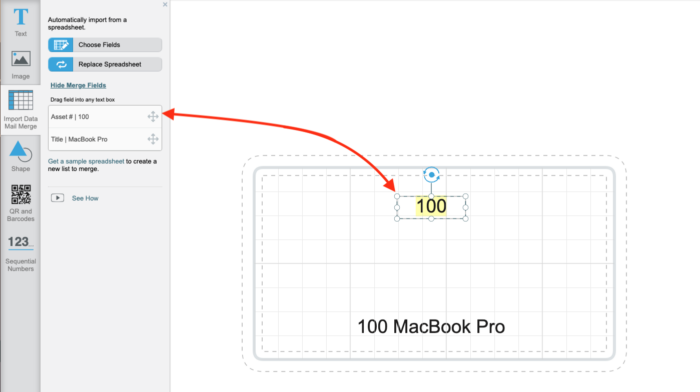
This will automatically add the asset number and asset title to our sheet. Feel free to head back into “Import Data Mail Merge” to separate these two fields. You can drag each field to the template to make it its own object.
Designing your Asset Tags in the Avery Designer
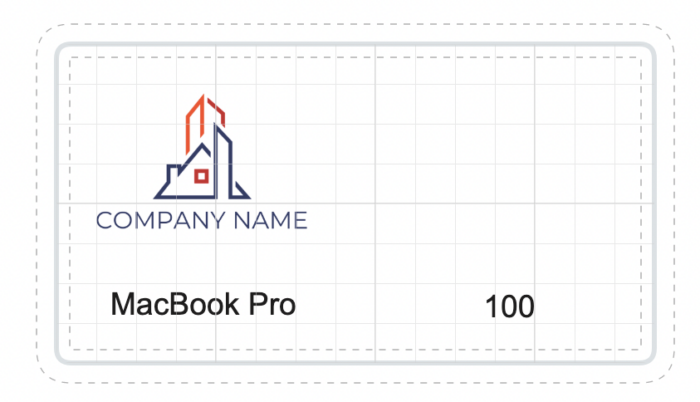
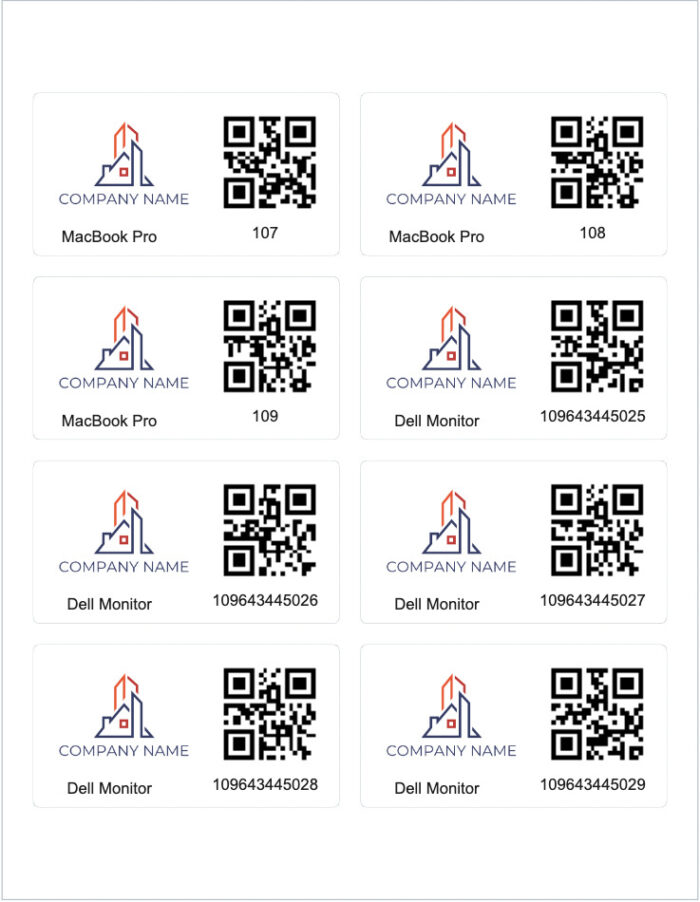
I decided to add a Company Logo and separate my Asset # and Title to make them easier to work with. Feel free to spend some time customizing this asset tag to your liking. Be sure to leave room for a barcode or QR code as the next step in the guide will be adding that barcode to our Asset Tags.
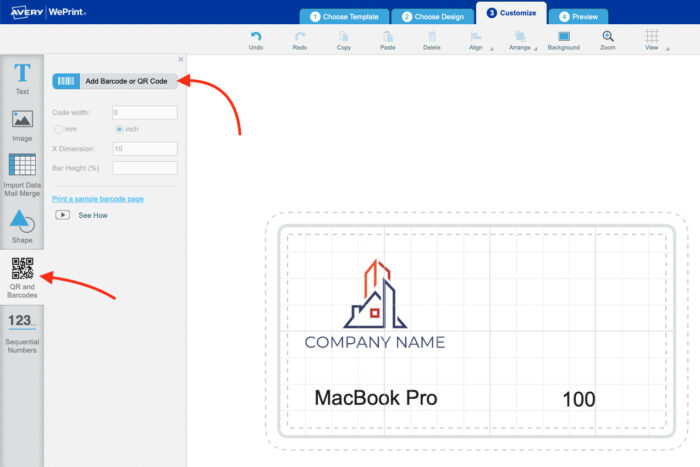
As mentioned above, the next step is to add a Barcode or QR code. The Reftab mobile app has the ability to scan both, however, for this guide I will add a QR code as they are generally easier to work with. You can start by clicking “QR and Barcodes” and choosing “Add Barcode or QR code” from the top of this menu.
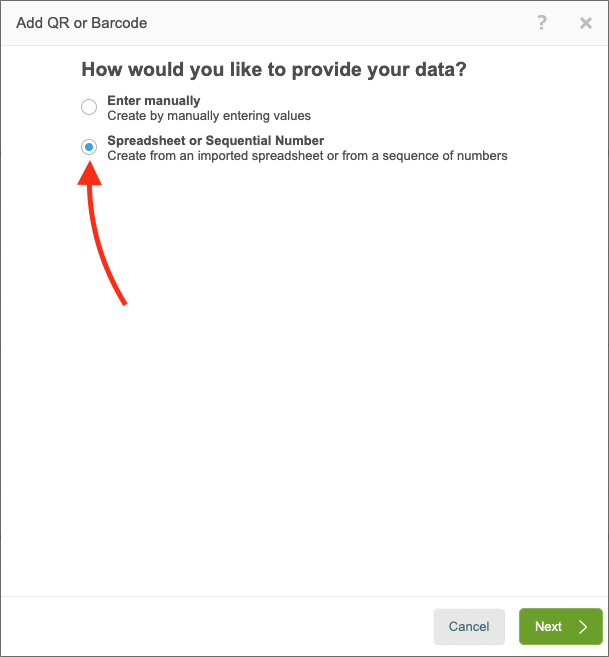
Once chosen, you’ll want to select the second option of “Spreadsheet or Sequential Number.” You’ll notice our fields are automatically chosen.
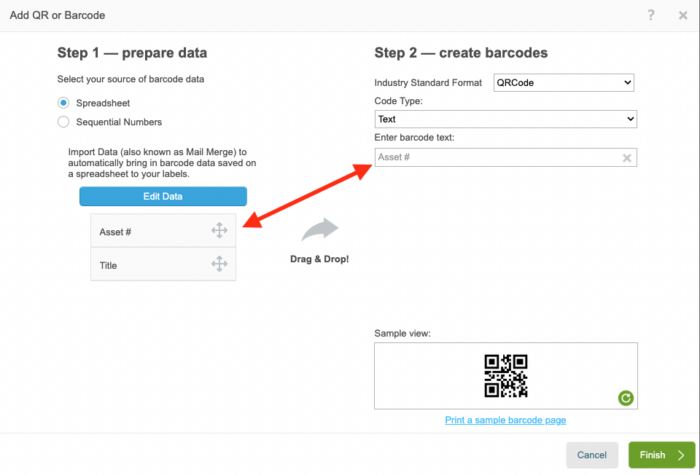
The next step and the biggest is to Drag and Drop your Asset # field to the left side of this menu. Take notice, I’ve chosen “QR Code” for the industry standard format and placed the Asset # in the “Enter barcode text:” field.
After finishing, I am able to resize and adjust the label to my liking. I can then click Finish, make any adjustments necessary, and then Approve my Design.
After adding the prints to your cart be sure to add the Reftab discount code for 15% off. Once these labels come in, you can apply them directly to your assets. The QR codes are automatically linked to your Reftab account and will allow you to use the Reftab Mobile App to easily scan these codes.