Looking to streamline your device management and asset tracking by integrating Mosyle with Reftab? This comprehensive guide will show you how to connect these two powerful platforms seamlessly.
In this guide, we’ll cover the following topics:
- Generating an access token
- Configuring access in Reftab
- Configuring basic integration settings
- Field mappings
Generating an access token
To begin, you will want to sign into Mosyle with administrative access and navigate to “Organization“.
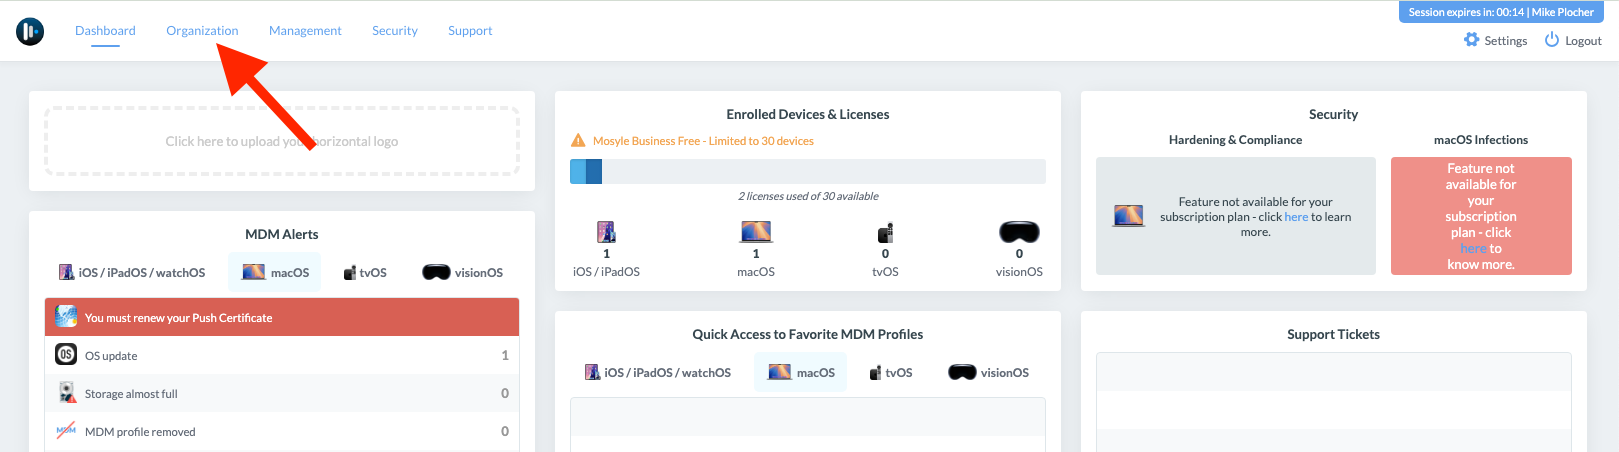
Next you will navigate to the “Integrations” dropdown, and select “Mosyle API Integration“.
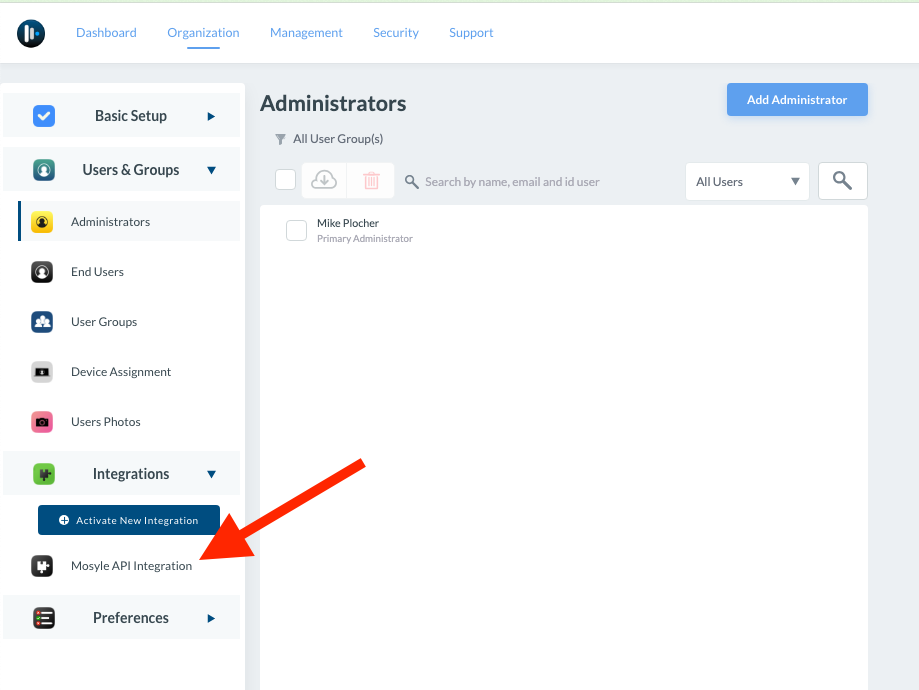
Then you will want to click “Add new token“.

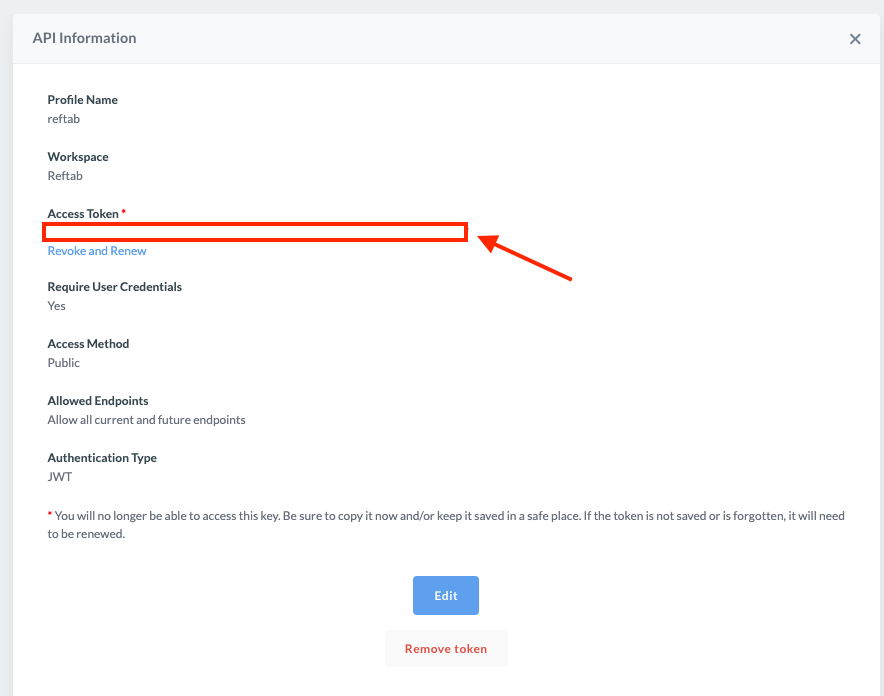
Once the token is created, ensure that you copy it before navigating away from this page – otherwise you will need to revoke and renew for a new one.
Configuring access in Reftab
Now that we have our token, we can head into Reftab and sign in as an administrator. Next we will navigate to “Settings” > “Integrations” > “Mosyle“, “Configure“.
Here you will want to select either Business or Education for your Mosyle Version, input your login credentials, and paste the access token that we copied earlier.

Configuring basic integration settings
Now that we have configured access on the Reftab side, we will want to decide on a few basic settings.
Set the Default Import Location
- Choose the location where imported items will be placed.
- This can be any location in Reftab that matches your organizational needs.
Enable or Disable Auto Assign Assets
- Decide whether you want items to be automatically checked out.
- If enabled, items in Mosyle with a user assigned will attempt to map to an existing email address in Reftab.
Select the Asset Tag Source
- Choose the source from Mosyle that will determine the asset ID in Reftab.
- Common options include Serial Number or another custom field
Choose the Asset Name Source Field
- Select the field in Mosyle that will act as the name for the asset in Reftab.
- If no field is found or set, a default name may be used instead.

Field Mappings
The field mapping functionality in Reftab allows you to link specific fields from Mosyle to their corresponding fields in Reftab, ensuring that imported assets are properly categorized and organized.
Select Categories for Imported Devices
Computer Category: Use the dropdown to select the category where imported computers will be placed in Reftab (e.g., Laptops).
Mobile Category: Similarly, select the category for imported mobile devices (e.g., Smartphones).

Reveal Field Mapping Options
Click the Show Fields button under either Computer or Mobile categories to access the field mapping configuration.

This will display two columns:
Mosyle Fields: Fields available in Mosyle (e.g., Serial Number, Device Name, OS).
Reftab Fields: Fields in Reftab where Mosyle data will be mapped.

Map Fields
For each Mosyle field:
Click the Map Field button next to the Reftab field where you want the Mosyle data to sync.
If the Reftab field doesn’t already exist, Reftab will create it automatically and map it to the selected Mosyle field. Fields that are already mapped will display as Field Mapped, and will be color coded as green.
If you already have assets in Reftab with serial numbers, enabling the Mosyle integration will not create duplicate entries. Instead, Mosyle will look to match existing serial numbers in Reftab and map to those assets accordingly.
Import Requirements
Computers: Must have both a Name and an Asset ID (e.g., Serial Number) to be successfully imported.
Mobile Devices: Similarly, these must have a Name and an Asset ID to avoid being skipped during the import process.
Once satisfied with the mappings, you can save the settings for Mosyle, and navigate back to the integrations page to force a sync by clicking “Sync Now“.
Suggested Next Steps
How to Auto-Assign Asset Locations via Loanee Fields in Workflows
Utilize automated workflows to update asset locations based on dynamic custom loanee fields.
That’s it, you have successfully integrated Reftab and Mosyle!
For any questions or assistance, please feel free to reach out to help@reftab.com!