How do I configure SSO with OneLogin?
1) Login to OneLogin as an Administrator
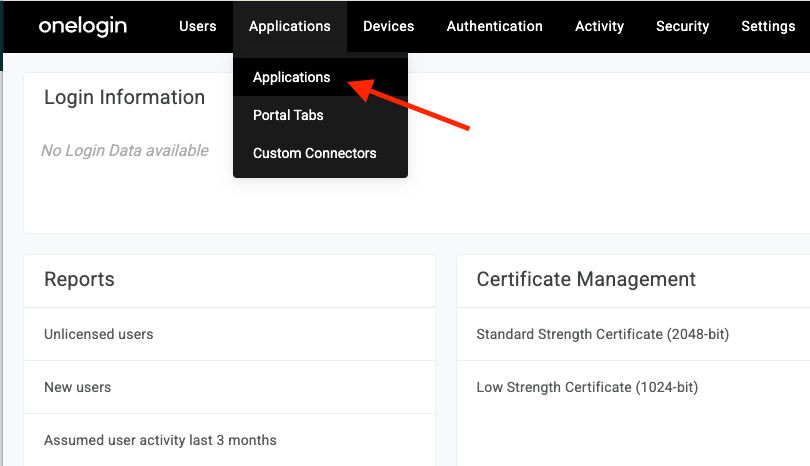
2) Navigate to Applications > Applications
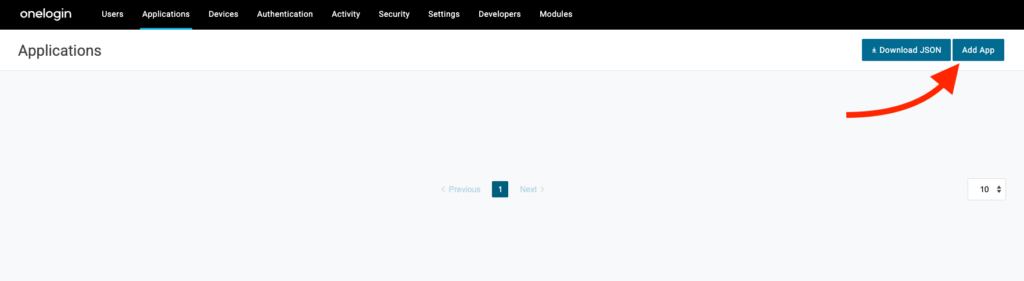
3) Click Add App
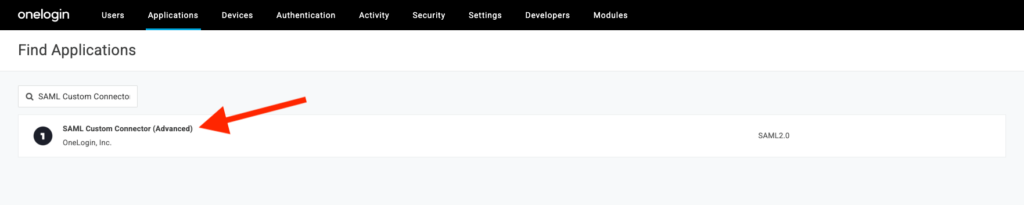
4) On the next page, search for “SAML Custom Connector (Advanced)” and select the first option
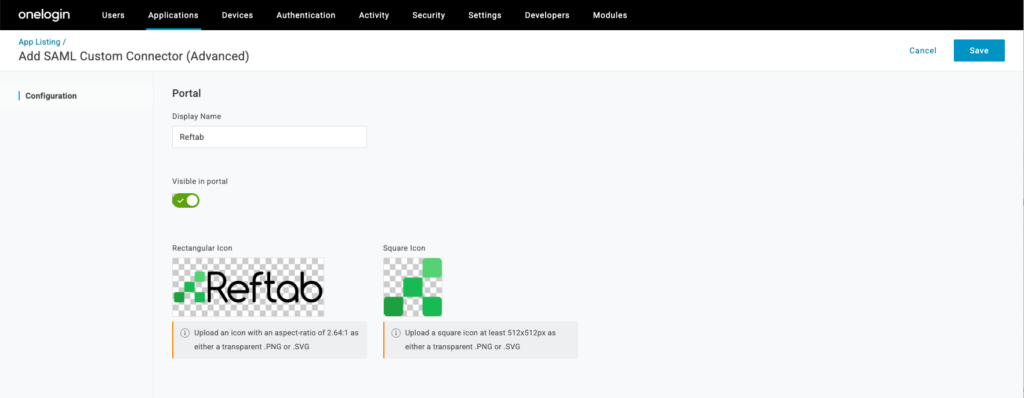
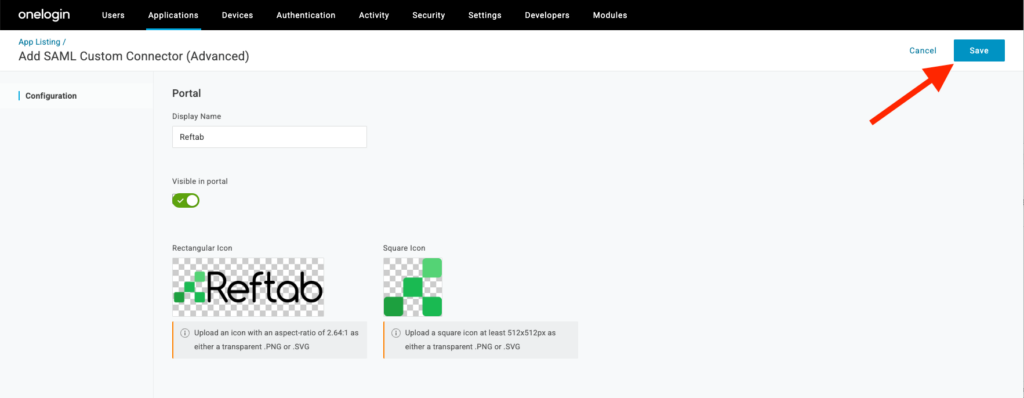
5) Provide a name and images for the Reftab Application. These images will displayed in your portal. You can download our images below:
6) Click Save to begin configuring the SSO application.
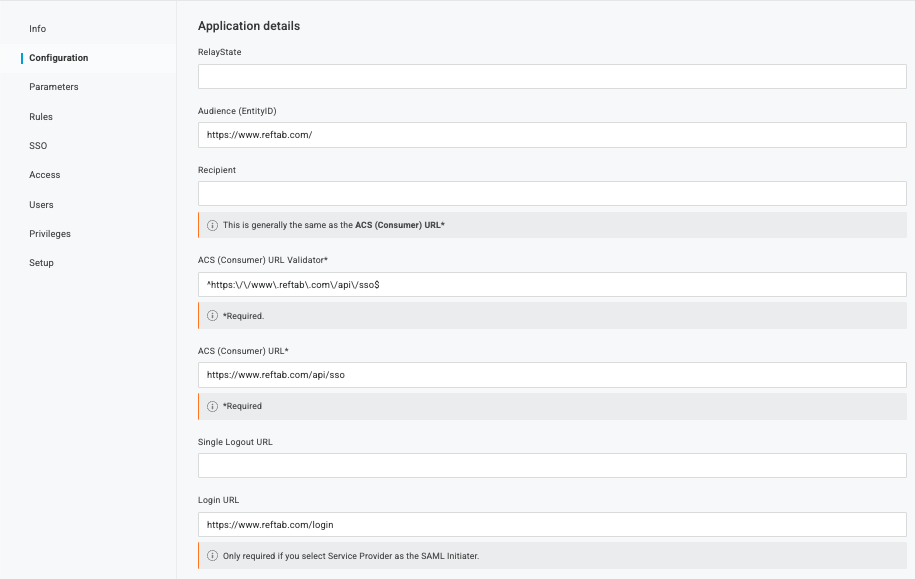
7) Click Configuration then enter the below information:
- Audience (EntityID): https://www.reftab.com/
- ACS (Consumer) URL Validator*: ^https:\/\/www.reftab.com\/api\/sso$
- ACS (Consumer) URL*: https://www.reftab.com/api/sso
- Login Url: https://www.reftab.com/login
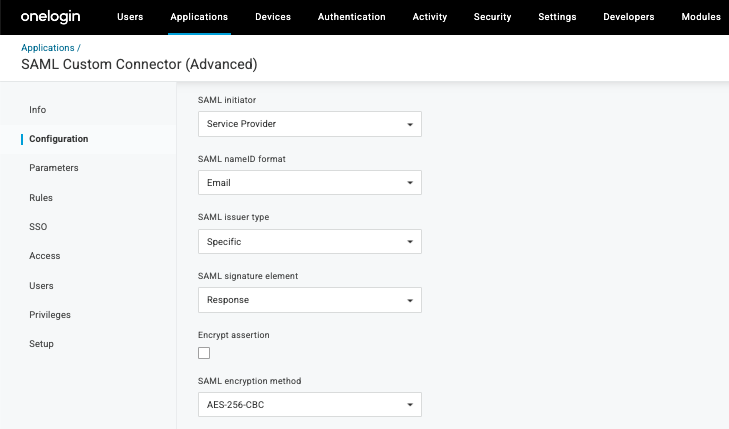
8) Finally, configure the SAML Initiator as “Service Provider” and set the SAML encryption method as “AES-256-CBC”
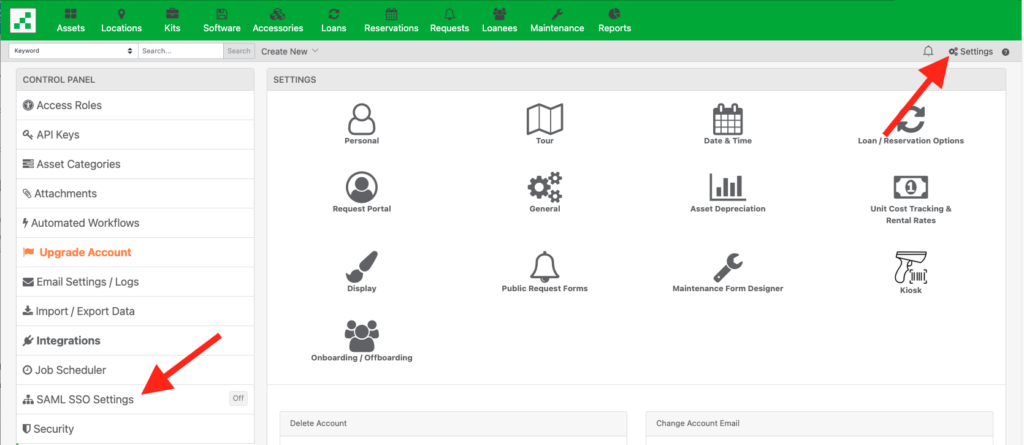
9) In a new tab, login to Reftab as an administrator and click Settings > SAML/SSO Settings
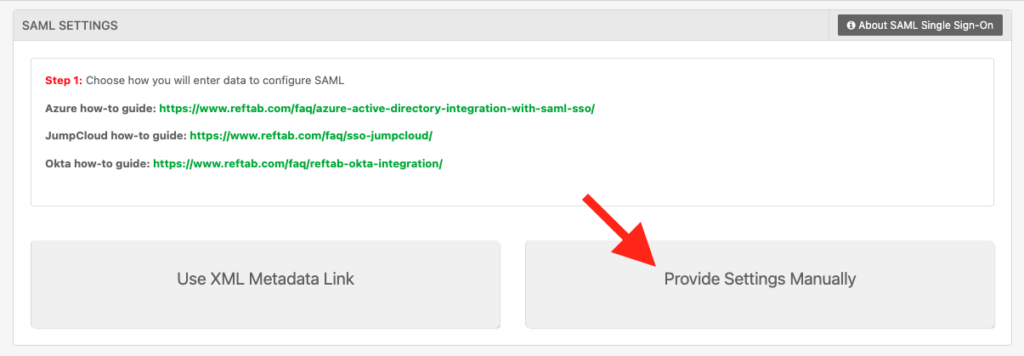
10) Click “Provide Settings Manually”
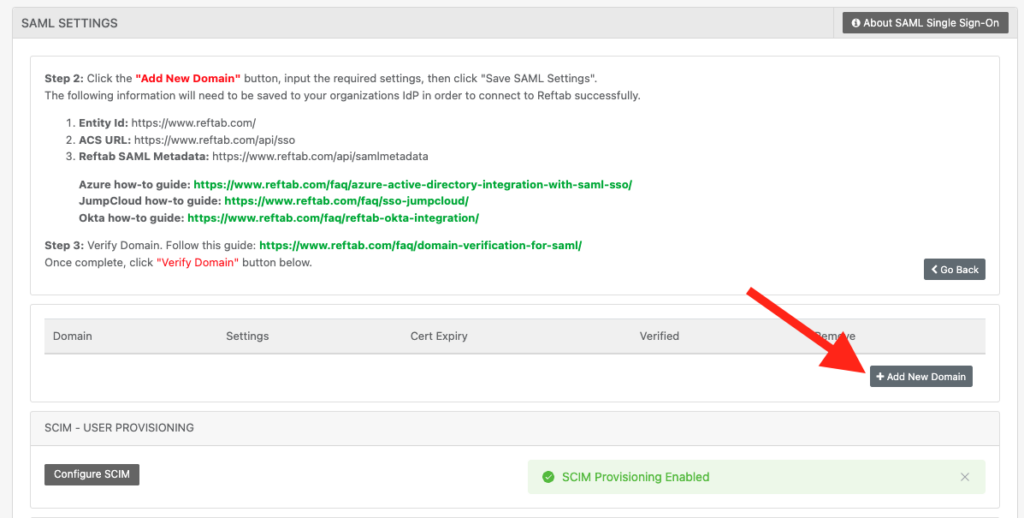
11) Click “Add New Domain”
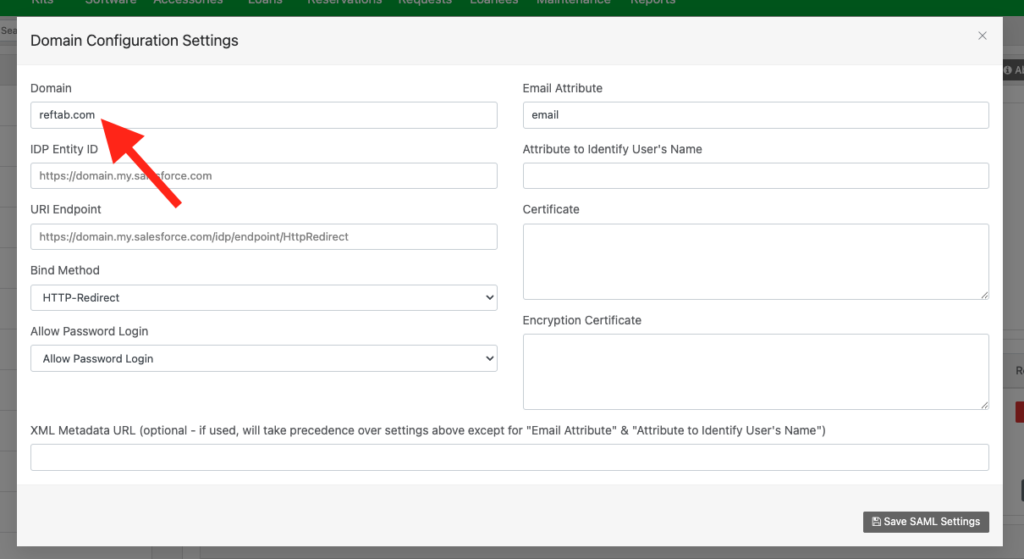
12) Enter your domain, this should be the domain that is used in your user’s email accounts
13) To gather the remaining information for this popup, we’ll head back into OneLogin and click “SSO”
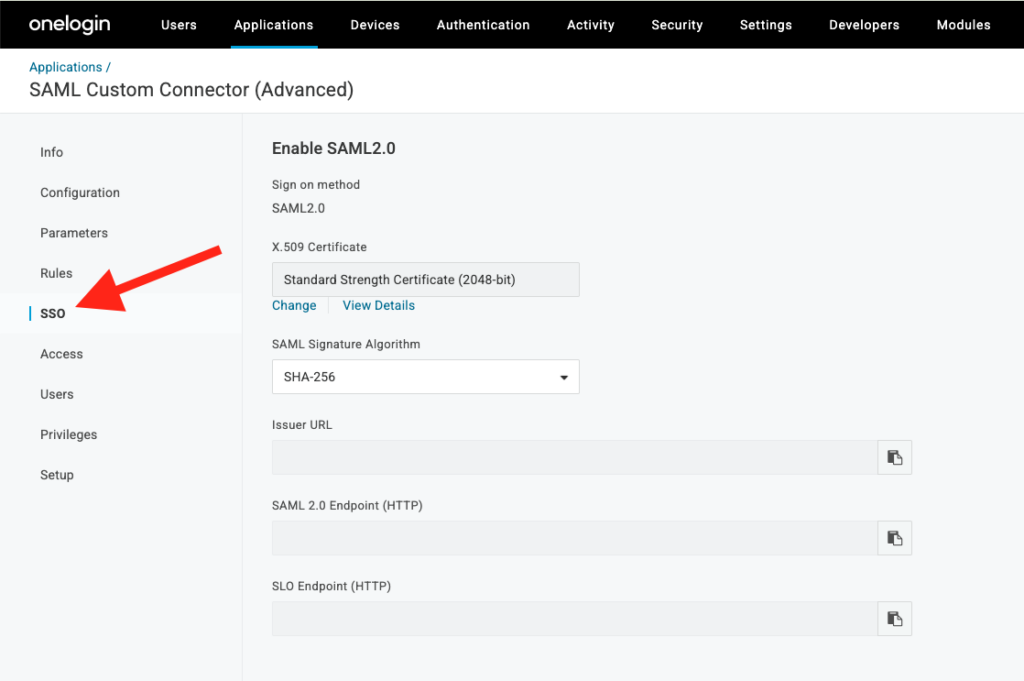
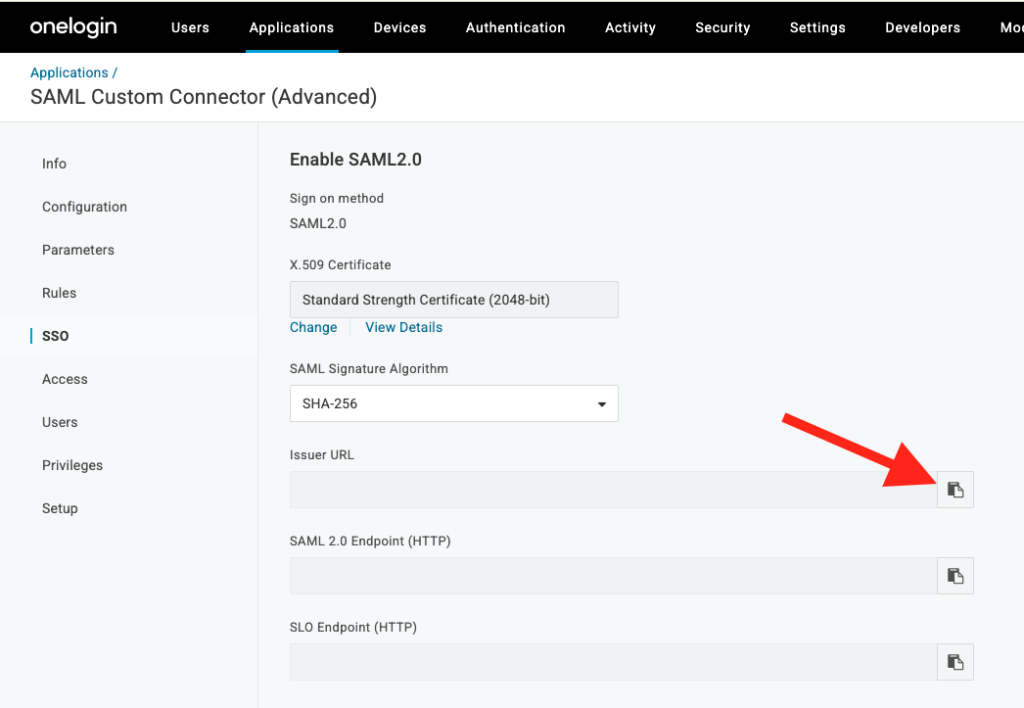
14) Update your SAML Signature Algorithm to SHA-256

15) Copy the Issuer URL
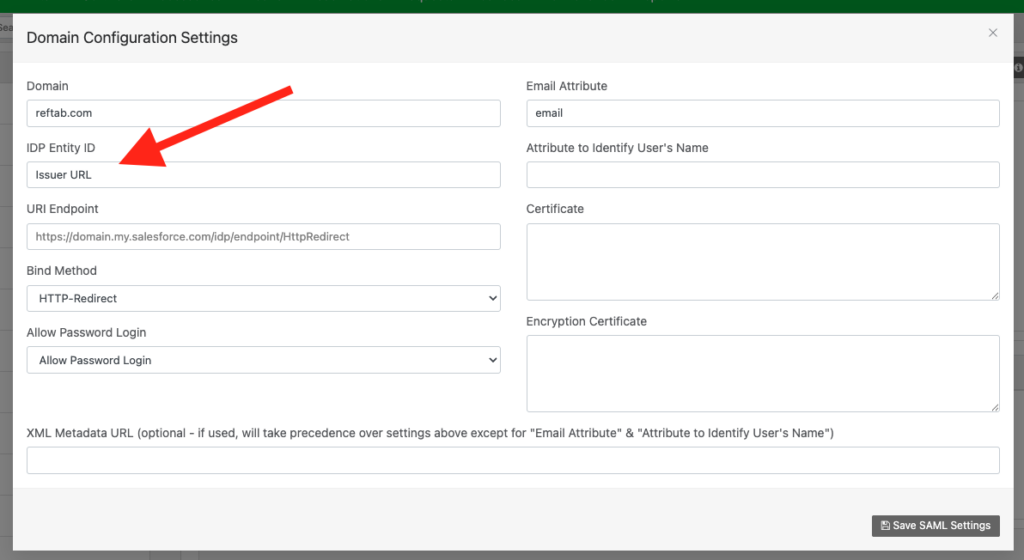
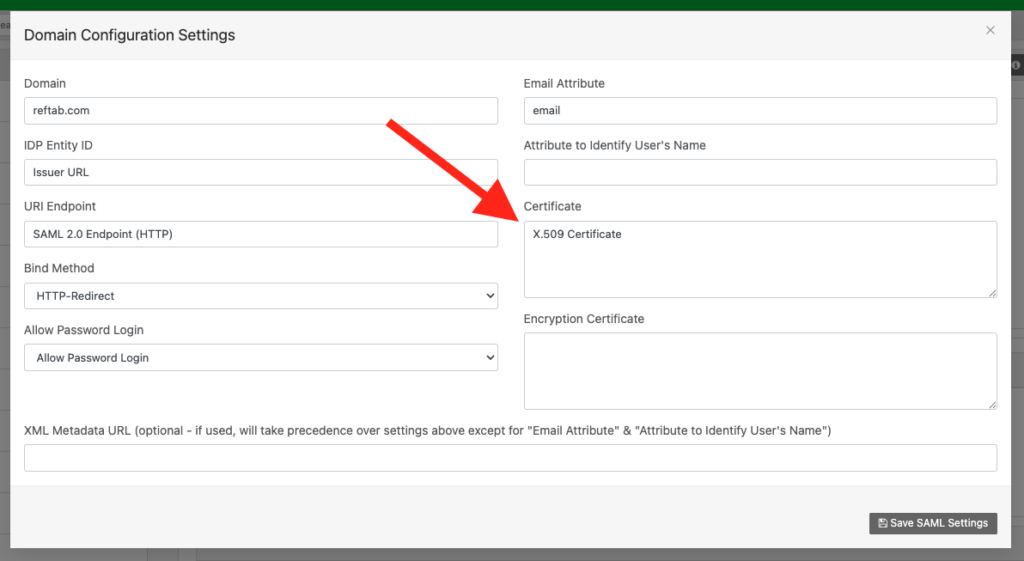
16) Paste the Issuer URL in Reftab under IDP Entity IDP:
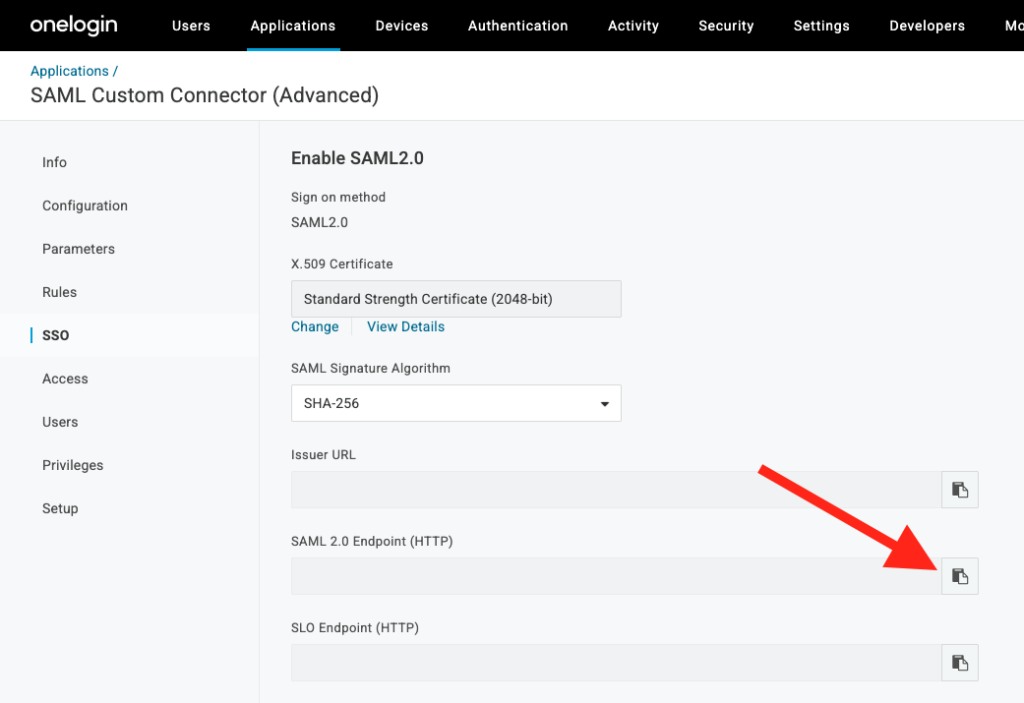
17) Head back into OneLogin then copy the SAML 2.0 Endpoint (HTTP):
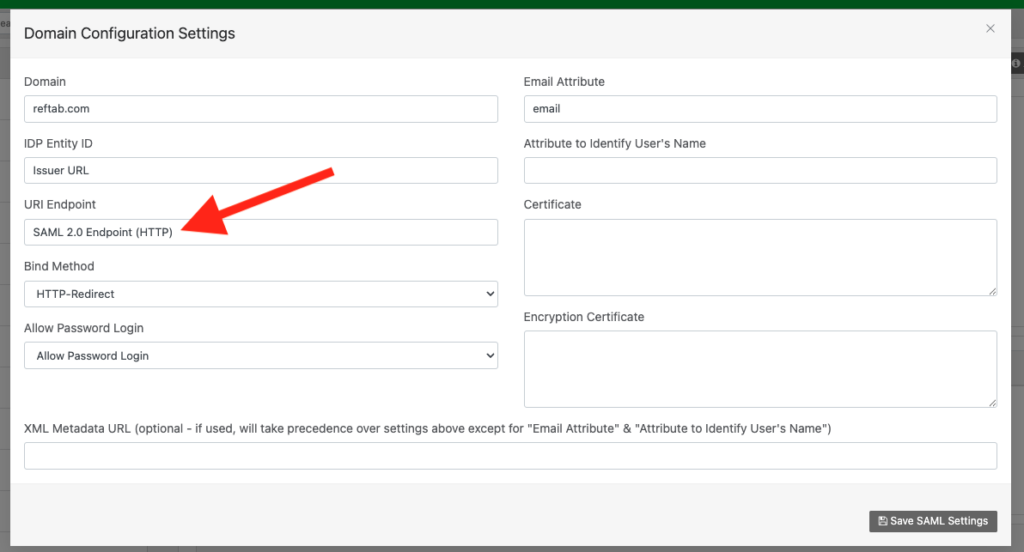
18) Back in Reftab, paste the SAML 2.0 Endpoint (HTTP) value under URI Endpoint:
19) Once more, within OneLogin, click View Details under X.509 Certificate:
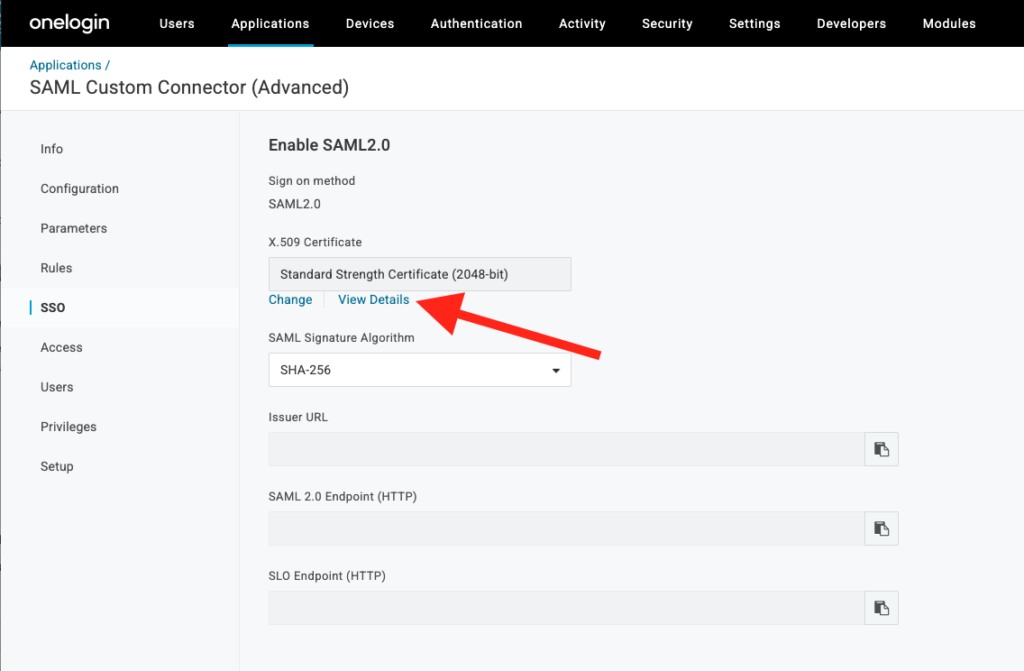
20) Copy your X.509 Certificate

21) Paste your X.509 Certificate in the Certificate field:
Be sure to save these settings, and you’re finished! Prior to using Single Sign-On, you’ll need to verify your domain. For more information on domain verification, take a look at our guide here.
As always, if you run into any issues or have any questions on this setup, please don’t hesitate to email our Support Team: help@reftab.com.
Your assets, simplified. Begin your journey with us!
50 assets free forever with unlimited inventory & software tracking. Includes email alerts, mobile apps, reports, custom asset tags and more.