How to Use Zebra Designer to Print Barcodes in Bulk?
You can use Zebra Designer Professional to bulk print labels easily.
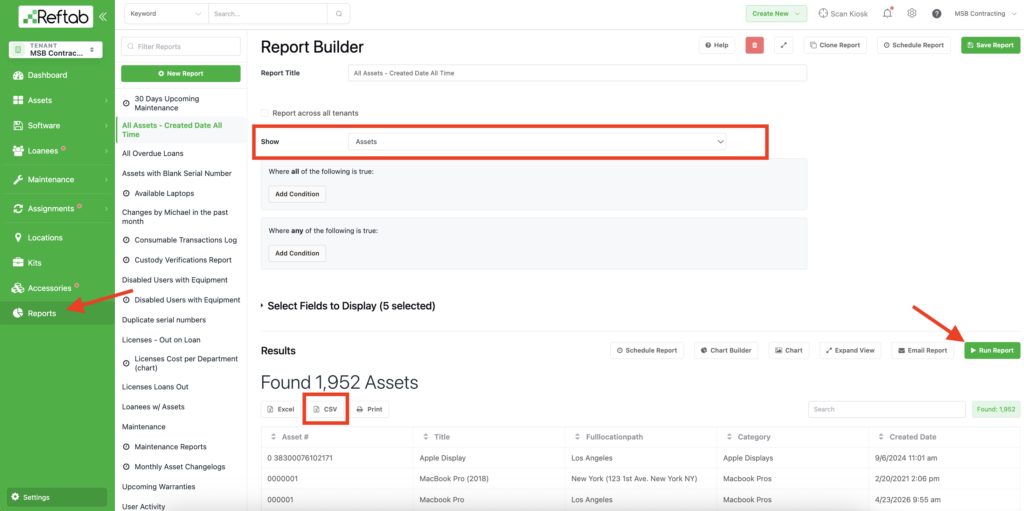
First, you need a CSV of asset information from Reftab. You can get this by running a report and exporting a CSV.
Next, open ZebraDesigner, make a new label, go to Data tab and click ‘Text File’.
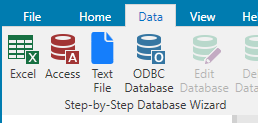
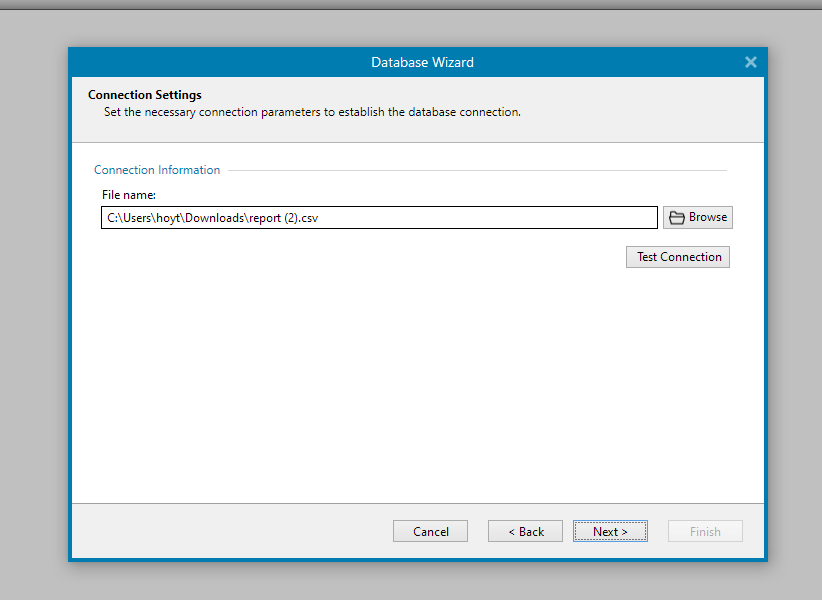
Select the report you exported earlier.
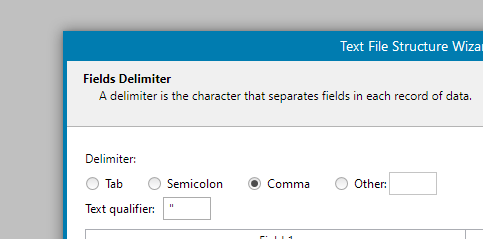
Make sure the Data Structure is delimited and select ‘First row contains field names’.
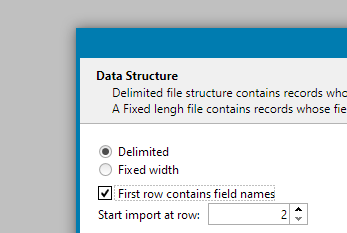
Make sure delimiter is comma and text qualifier is “.
Select the fields you wish to print to your label. For this example we will just use Asset #, Title, and Location.
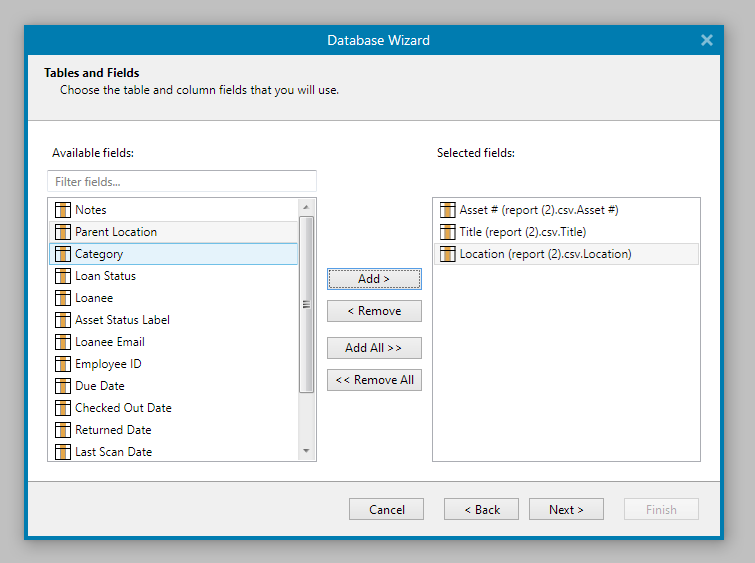
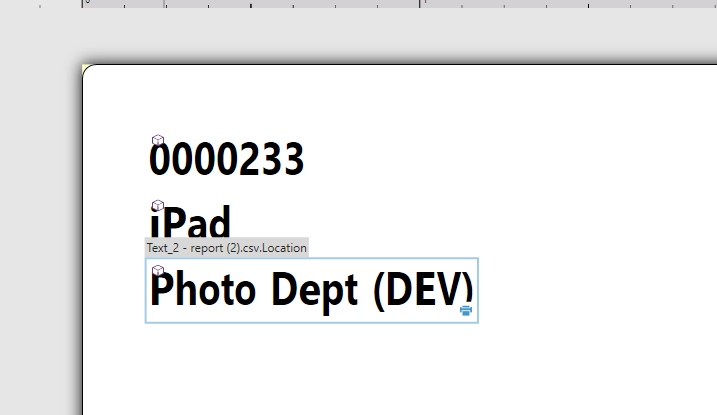
The wizard will add these fields to your label automatically.
On the left side add a barcode. After you do that, on the right side, change the Source, Data to Databases -> your file -> Asset #.
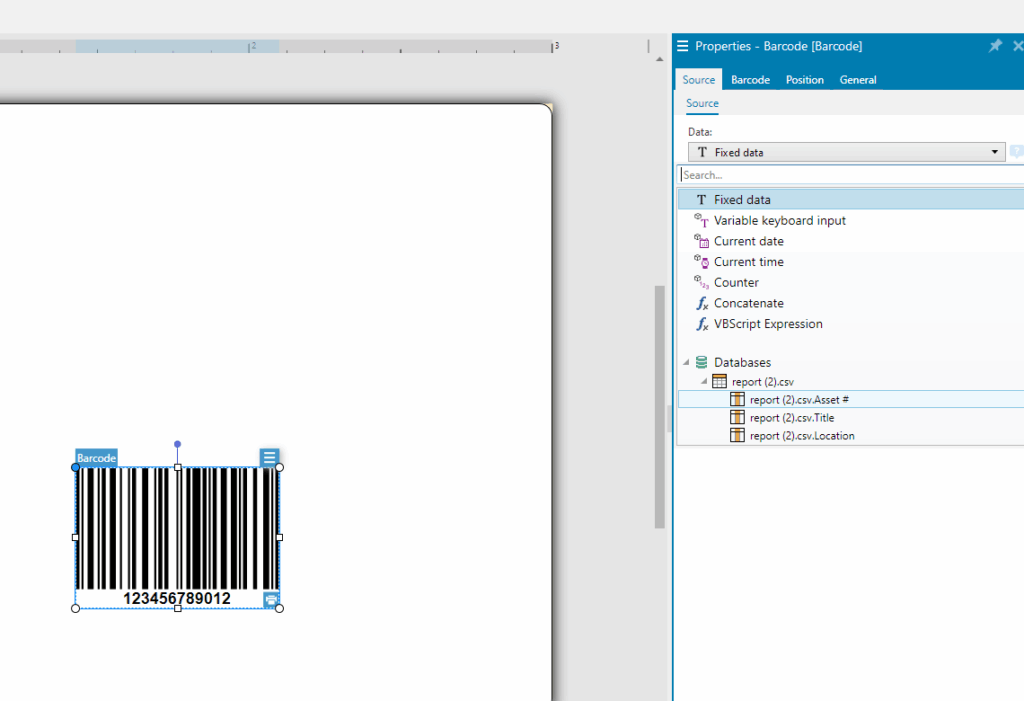
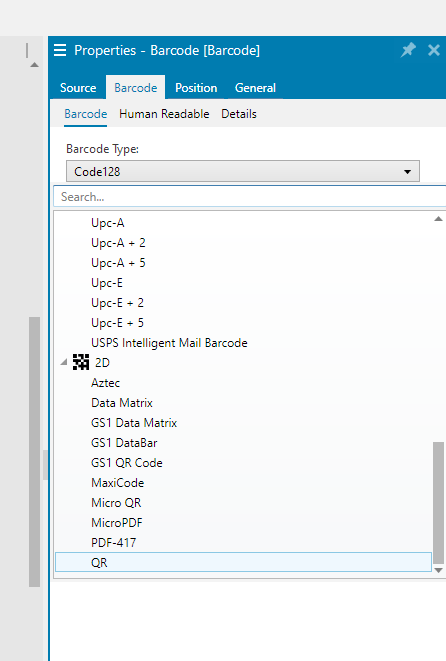
While still having the barcode selected, change the properties tab to Barcode and change the Barcode Type to the one you wish to use. In this example we will use QR.
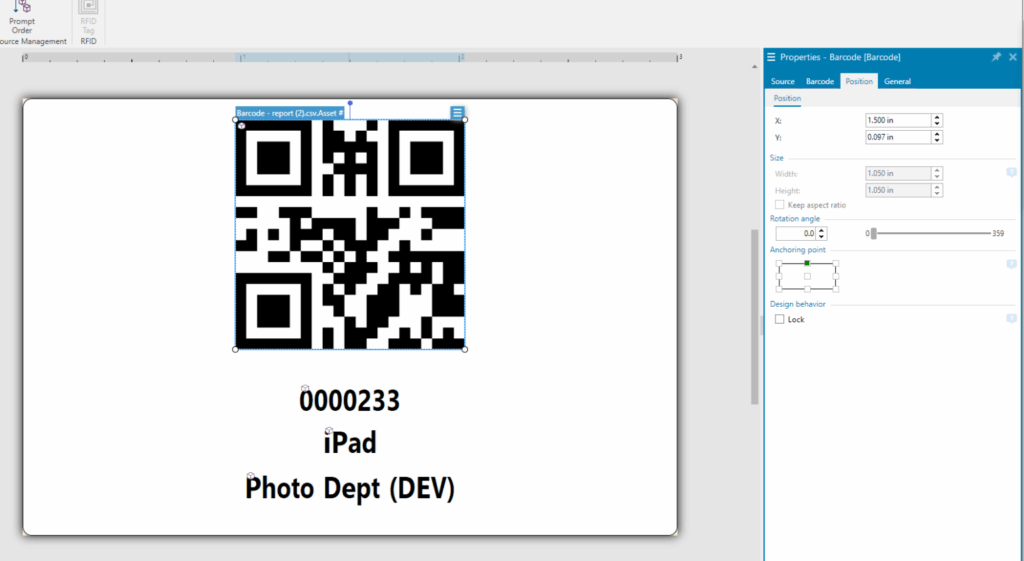
Re-arrange your label to your liking. You’ll probably want the anchoring point on all of your objects to be one of the center points. This label is 3″ wide, so all of the X positions are at 1.5″.
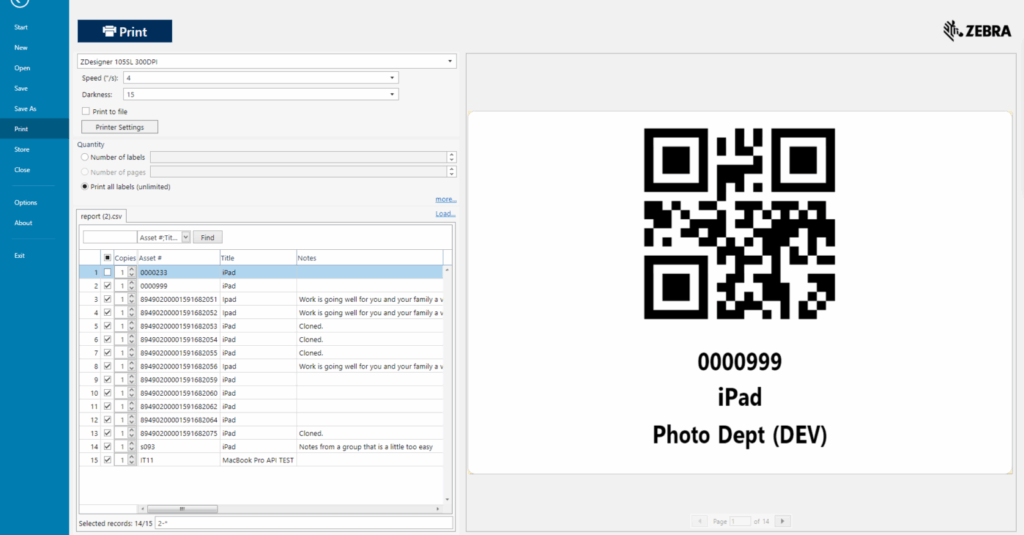
Go to File -> print and you will see all of the generated labels. You can select which ones to print here and how many.
More information about connecting to a csv using ZebraDesigner can be found here!
Need help? We're here for you
For any questions or assistance, feel free to reach out to us.
Your assets, simplified. Begin your journey with us!
50 assets free forever with unlimited inventory & software tracking. Includes email alerts, mobile apps, reports, custom asset tags and more.