You’re managing a multimillion-dollar construction project, and everything’s moving along smoothly until one of your key excavators breaks down. Suddenly, you’re scrambling to find a replacement, the project grinds to a halt, and every hour of downtime is costing you thousands. What’s worse? It turns out the breakdown could’ve been prevented with a simple maintenance check that got lost in the shuffle.
This is the reality for many construction companies managing fleets of heavy equipment without a solid asset management system.
Relying on outdated spreadsheets, clunky software, or worse, your own analog system can leave you vulnerable to missed maintenance, inefficient asset usage, and unexpected downtime that can cripple your operations. That’s why heavy equipment asset management software is a necessity. By automating maintenance schedules, tracking equipment usage in real time, and giving you actionable insights, this software turns chaos into a calm, controlled environment.
In this post, we’re sharing tips for what to look for when choosing heavy equipment asset management software.
Integrates with your existing systems
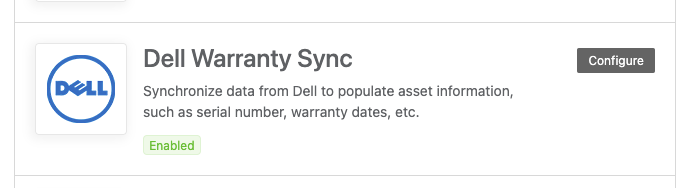
It’s critical for an asset management system to play nicely with the tools you’re already using. Whether it’s an ERP, secure login tools, or employee scheduling software, having everything in sync avoids redundant data entry and ensures every department stays on the same page.
This helps you keep track of assets, equipment costs, and maintenance schedules, which not only saves time but also reduces human errors.
Create customizable asset labels and barcodes
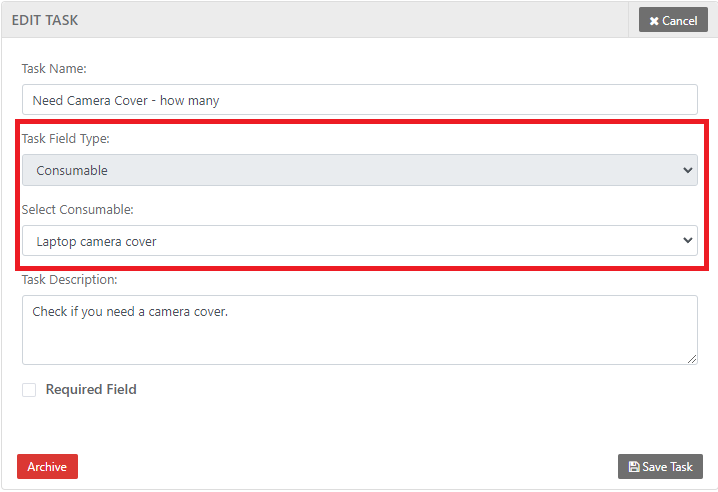
Being able to create custom labels and barcodes tailored to your equipment means you can track assets more efficiently. Whether it’s color-coded stickers for different types of machinery or QR codes for quick maintenance checks, you can adapt to what works best for your team.
For example, custom barcodes allow you to scan a machine instantly and access its entire history, saving hours of digging through records to figure out which one is due for service.
Make sure your field workers can access what they need on their smartphones
This should go without saying, but your asset management software should be cloud-based and mobile-friendly since your equipment is often spread across multiple job sites. A cloud-based asset management system allows teams to monitor and update equipment information in real time, no matter where they are.
Plus, your field workers often need real-time access to equipment information when they are on-site and not sitting at a desk. Providing them with mobile tools ensures they can update or access asset statuses, whether they’re at the construction site or in a remote location. With mobile access, they can update the system, preventing delays and miscommunication between the field and the office.
See and log maintenance history
Tracking past maintenance allows companies to predict when equipment might fail and schedule repairs ahead of time. By analyzing patterns in equipment wear and tear, businesses can shift from reactive to proactive maintenance strategies. This allows you to identify issues early, keep machinery running smoothly, and avoid costly last-minute repairs.
Make compliance tracking easier
Keeping track of regulatory compliance for heavy equipment can be a headache, especially with strict OSHA requirements. Automated compliance tracking with the help of your asset management software reduces manual work and ensures nothing falls through the cracks.
For instance, if you are preparing for an OSHA audit, you need to prove that your fleet has passed every inspection, meets safety standards, and complies with current emissions regulations. Instead of sifting through paperwork, you could generate a report in minutes, providing all the necessary data with a single click. This level of tracking not only helps you stay compliant but also reduces the risk of fines and legal issues while ensuring a safe working environment for your team.
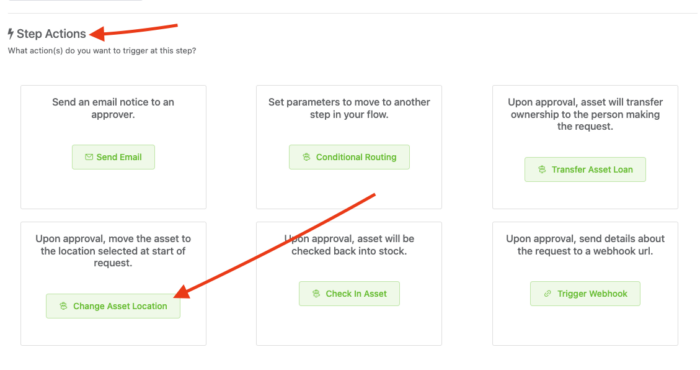
Set appropriate role-based access and permissions
Not everyone needs to see all the data, and role-based permissions let you control who has access to what. Whether it’s a manager approving purchases or a field worker logging equipment updates, you can ensure the right people have the right access.
For example, a large construction company might want to restrict who can authorize high-cost repairs while allowing everyone to update asset statuses. This helps streamline decision-making without compromising data security.
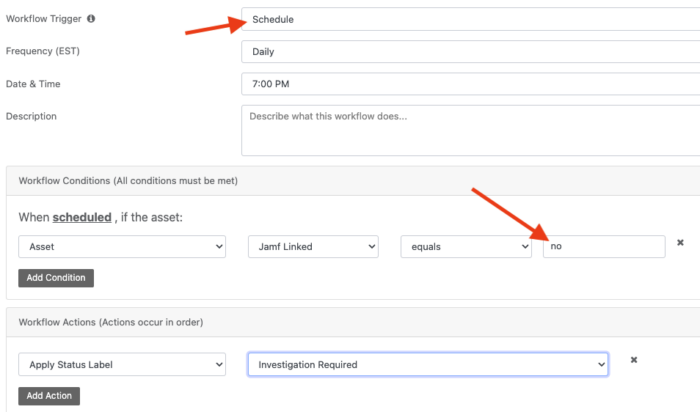
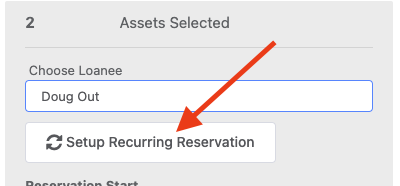
Setting up automated alerts for maintenance tasks, upcoming warranty expirations, or equipment that’s being overused can keep everything running smoothly. Without these reminders, it’s easy to miss critical tasks, leading to downtime or costly repairs.
For instance, if you are running a construction project and suddenly realize that two of your main excavators are down for maintenance because their scheduled service was missed, automated alerts can prevent these kinds of disruptions by notifying your team well in advance.
Consider total cost of ownership
When purchasing heavy equipment, it’s not just the upfront cost that matters. You need to consider the total cost of ownership (TCO), which includes maintenance, repairs, downtime, and depreciation over time.
Depreciation is an unavoidable part of owning heavy equipment, but by using lifecycle-based depreciation models, you can better plan for when it’s time to replace or upgrade machinery.
For instance, buying a cheaper machine might seem like a good deal, but if it requires costly repairs or breaks down frequently, it could end up costing more in the long run than a higher-quality piece of equipment.
Stay on top of preventative maintenance
Preventive maintenance is key to avoiding costly breakdowns.
Beyond preventing failures, tracking how often tools are being checked in and out and overall asset utilization rates helps optimize your equipment.
By redistributing work from overused machines to underutilized ones, you prevent wear and tear while ensuring your equipment is always running efficiently. This proactive approach not only extends the life of your assets but also maximizes productivity and cuts costs.
Simplify equipment tracking with easy check-in/check-out
Keeping track of equipment across job sites can be a logistical nightmare, but with an easy check-in/check-out system, you can simplify the entire process. Whether using a mobile app or desktop, your team can quickly log who borrowed a piece of equipment, where it’s headed, and when it’s due back. This gives you real-time visibility into where your assets are and who’s responsible for them, reducing the risk of lost or misplaced items.
For example, say a bulldozer is checked out for a job site but isn’t being used. You can quickly identify its location and reassign it to another project where it’s actually needed.
Customizable email reminders keep everyone on top of overdue returns, while a centralized database logs the loan history, holding your team accountable. This system not only improves equipment utilization but also minimizes human error, making sure nothing falls through the cracks.
Set dedicated equipment maintenance budgets
Maintaining equipment is essential, but repair costs can quickly spiral out of control if they aren’t budgeted properly. Having a dedicated maintenance budget ensures you’re prepared for both routine and unexpected repairs without derailing other projects.
Consider a construction company that suddenly faces a $20,000 repair bill on a key piece of equipment. With a separate budget set aside for maintenance, this surprise expense doesn’t halt operations.
How to choose the right asset management software for heavy equipment
Selecting the right asset management software for your heavy equipment can make a significant difference in how efficiently your operations run. With so many software options available, including Reftab, it can be tough to know where to start, but focusing on a few essential features will help guide your decision.
One of the most important capabilities to look for is maintenance management and scheduling. Keeping your machinery in top shape means staying on top of routine service, and a system that automatically reminds you when it’s time for maintenance can save both time and money.
Another crucial feature is real-time asset tracking. When your equipment is spread across multiple job sites, knowing where everything is at any given moment is key. Software that includes real-time tracking allows you to monitor your equipment’s location and usage in real-time, which can help with theft prevention and ensure your fleet is being utilized efficiently. This feature can also provide insights into equipment wear and tear, making it easier to schedule maintenance based on actual usage rather than arbitrary timelines.
Ease of use is another factor that shouldn’t be overlooked. If the software is difficult to navigate or not accessible on a smartphone, it won’t matter how many features it has. At a minimum, field workers should be able to use an app to check in and out equipment, update asset statuses, or log repairs without having to return to the office.
Integration with existing systems is also vital. The best software will work seamlessly with the tools you’re already using. This way you can keep all of your data connected and reduce the risk of errors. This eliminates the need for manual data entry and ensures that everyone is working with the most up-to-date information.
Customization can make a big difference, too. Your business has its own unique processes, so you’ll want software that you can adapt to your workflow (and not the other way around).
Key takeaways
Heavy equipment asset management software can help you make smarter decisions that save time, money, and resources. With the right software, you can move from putting out fires to having a clear, proactive strategy for maintaining your fleet, preventing costly breakdowns, and ensuring every piece of equipment is being used to its full potential. Whether you’re dealing with equipment spread across multiple job sites or simply trying to extend the lifespan of your assets, investing in asset management software can transform the way you operate.
Ready to take control of your heavy equipment management? Sign up for a free Reftab account and see how easy it is to streamline your asset tracking and maintenance today.